
The original mantle, minus additional side panels (which broke off when taking fireplace apart)
Welcome back!
When we left off last weekend, Paul had just finished joining an additional strip of wood to the back of the upper mantle piece:

Using “biscuits” to join the old mantle shelf to newly-made piece
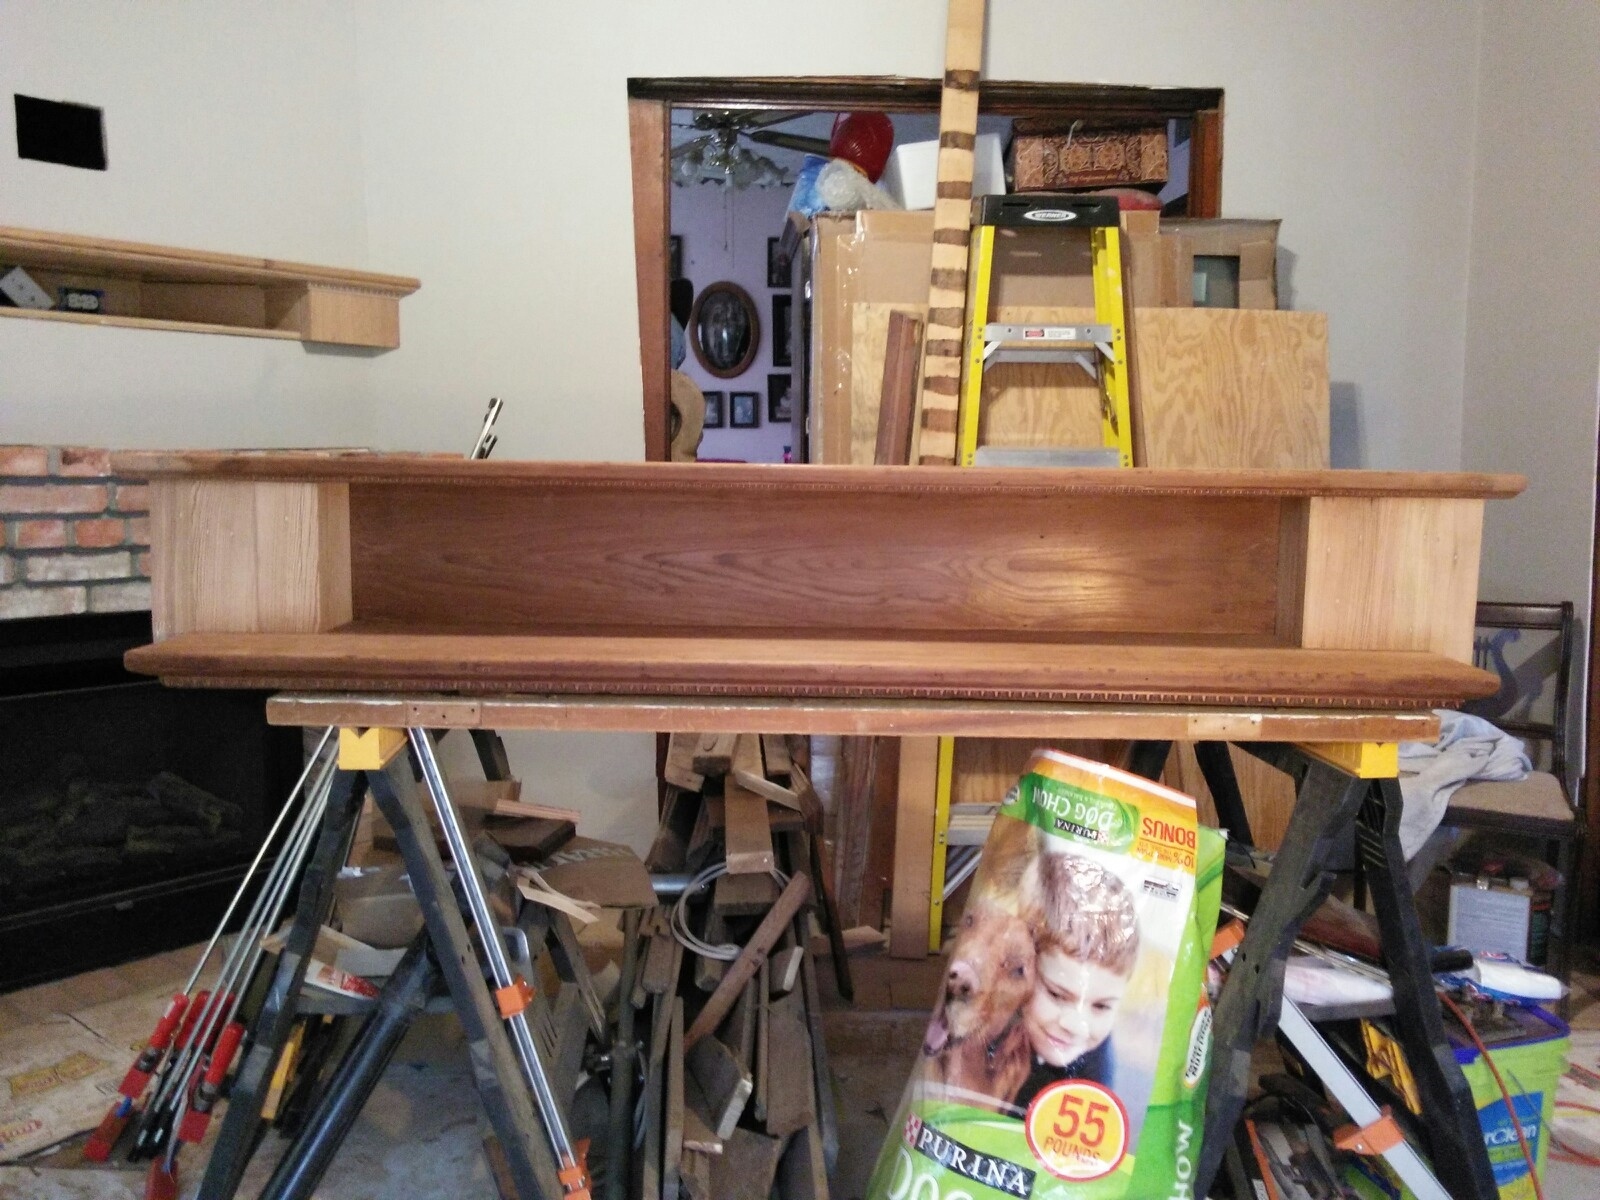
Because of changes to the position of the right column and the addition of the strip of wood to “even up” the upper mantle piece, we had to add a little more wood on either side of the original upper piece to make it wide enough to match the correct dimensions for the final piece:
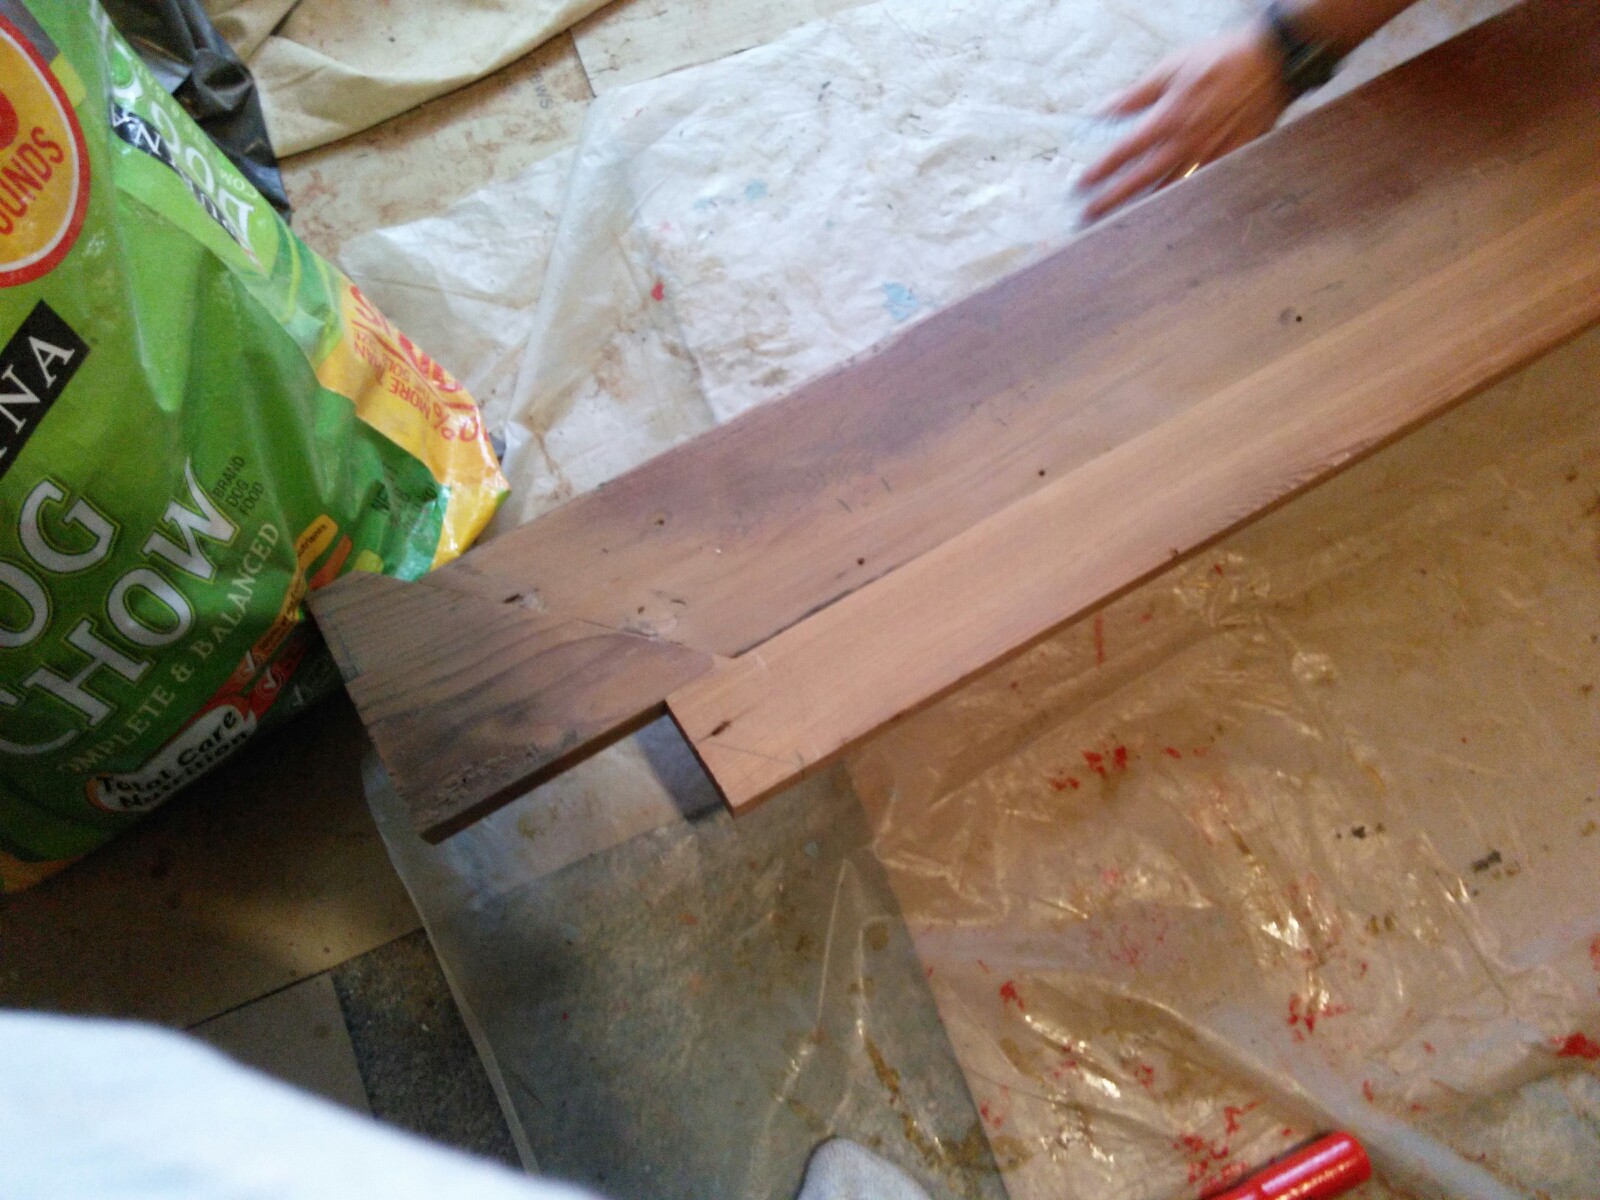
The original mantle with strip of wood added to back edge and triangular pieces added to both sides
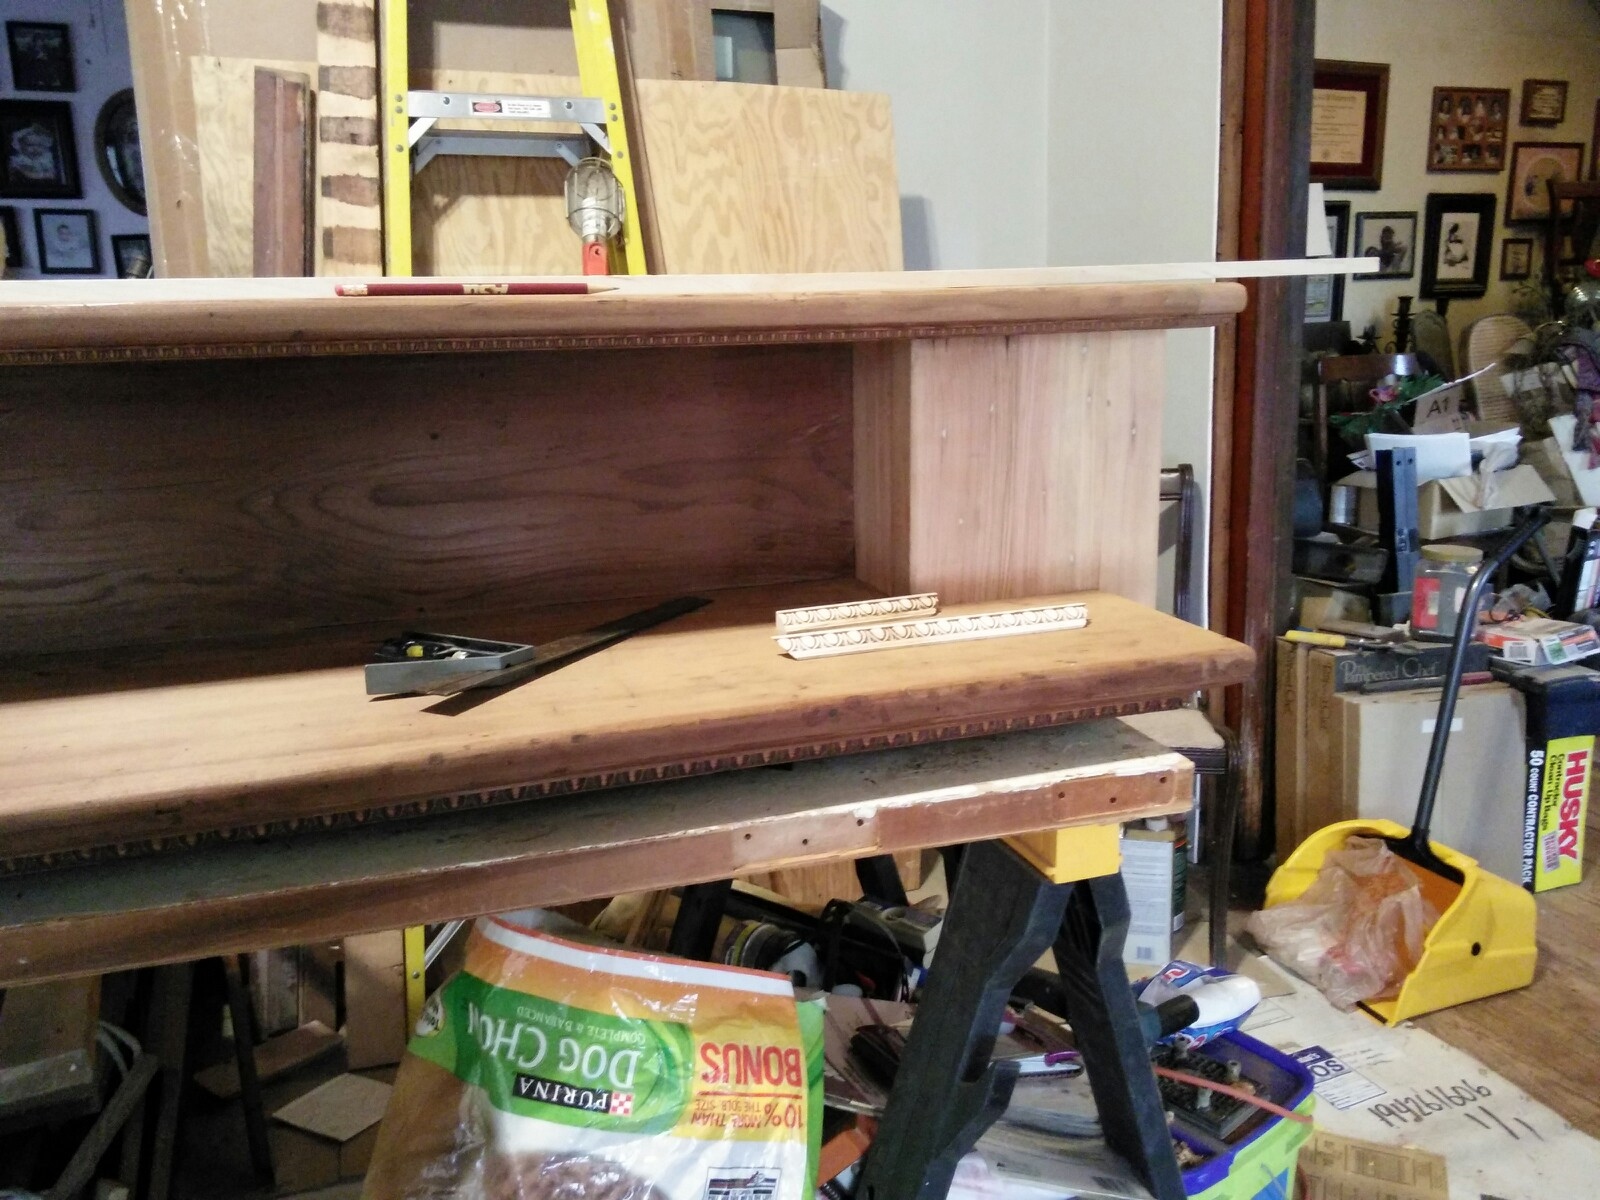
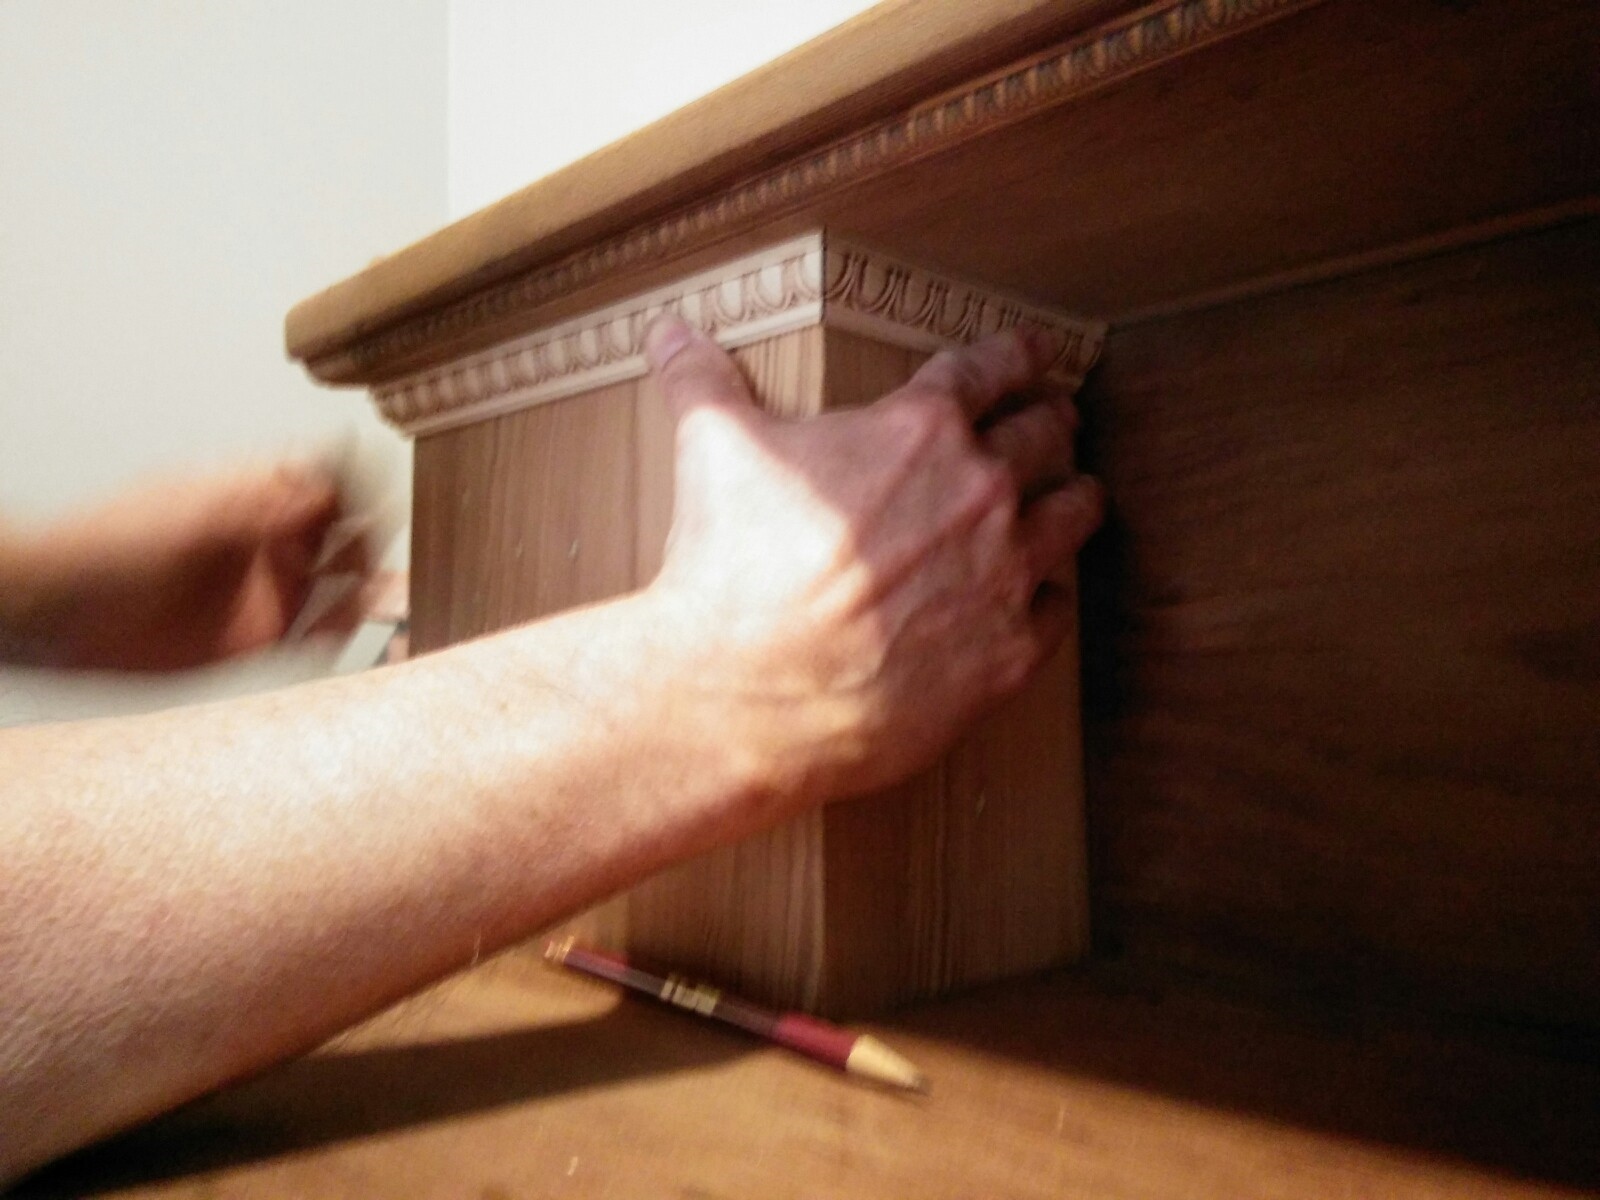
Paul did some of his special woodworking magic to make the new sections look as close to the original piece as possible, then he cut everything to the correct dimensions (involved a lot of “measuring twice before cutting once”!):
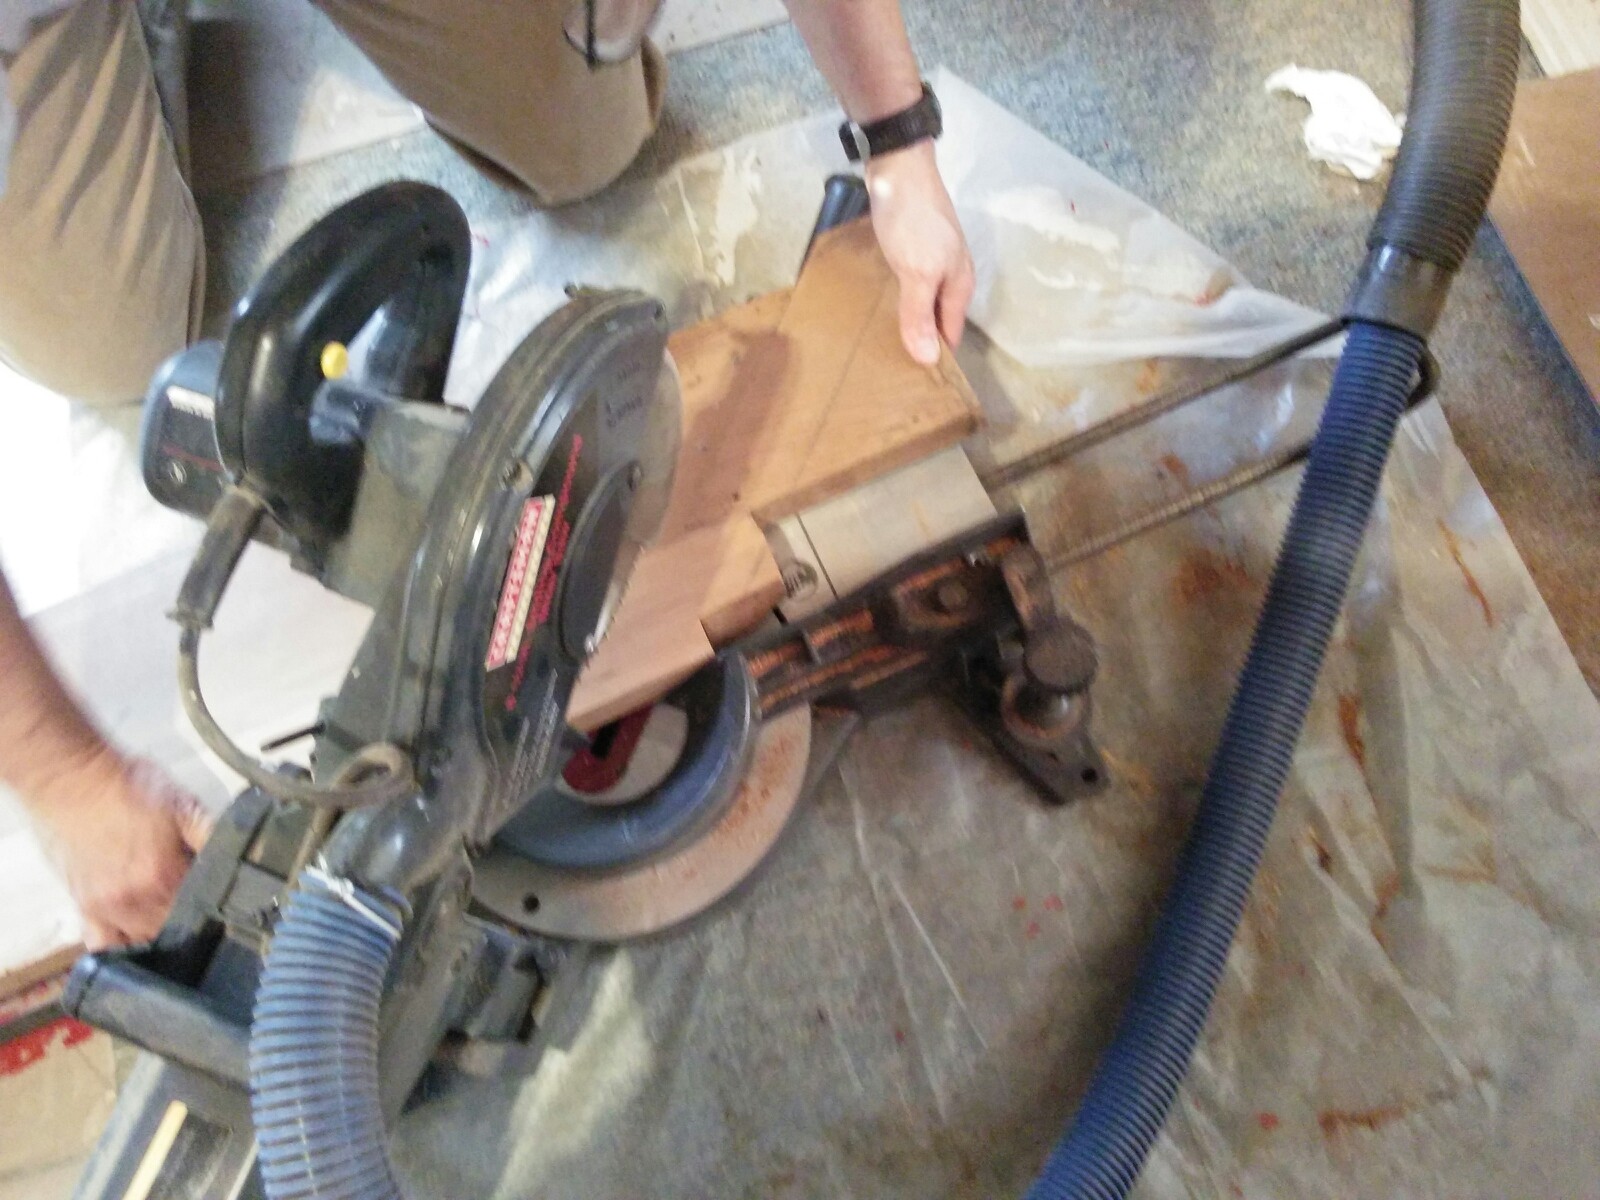
Assembled piece marked for cutting to final dimension
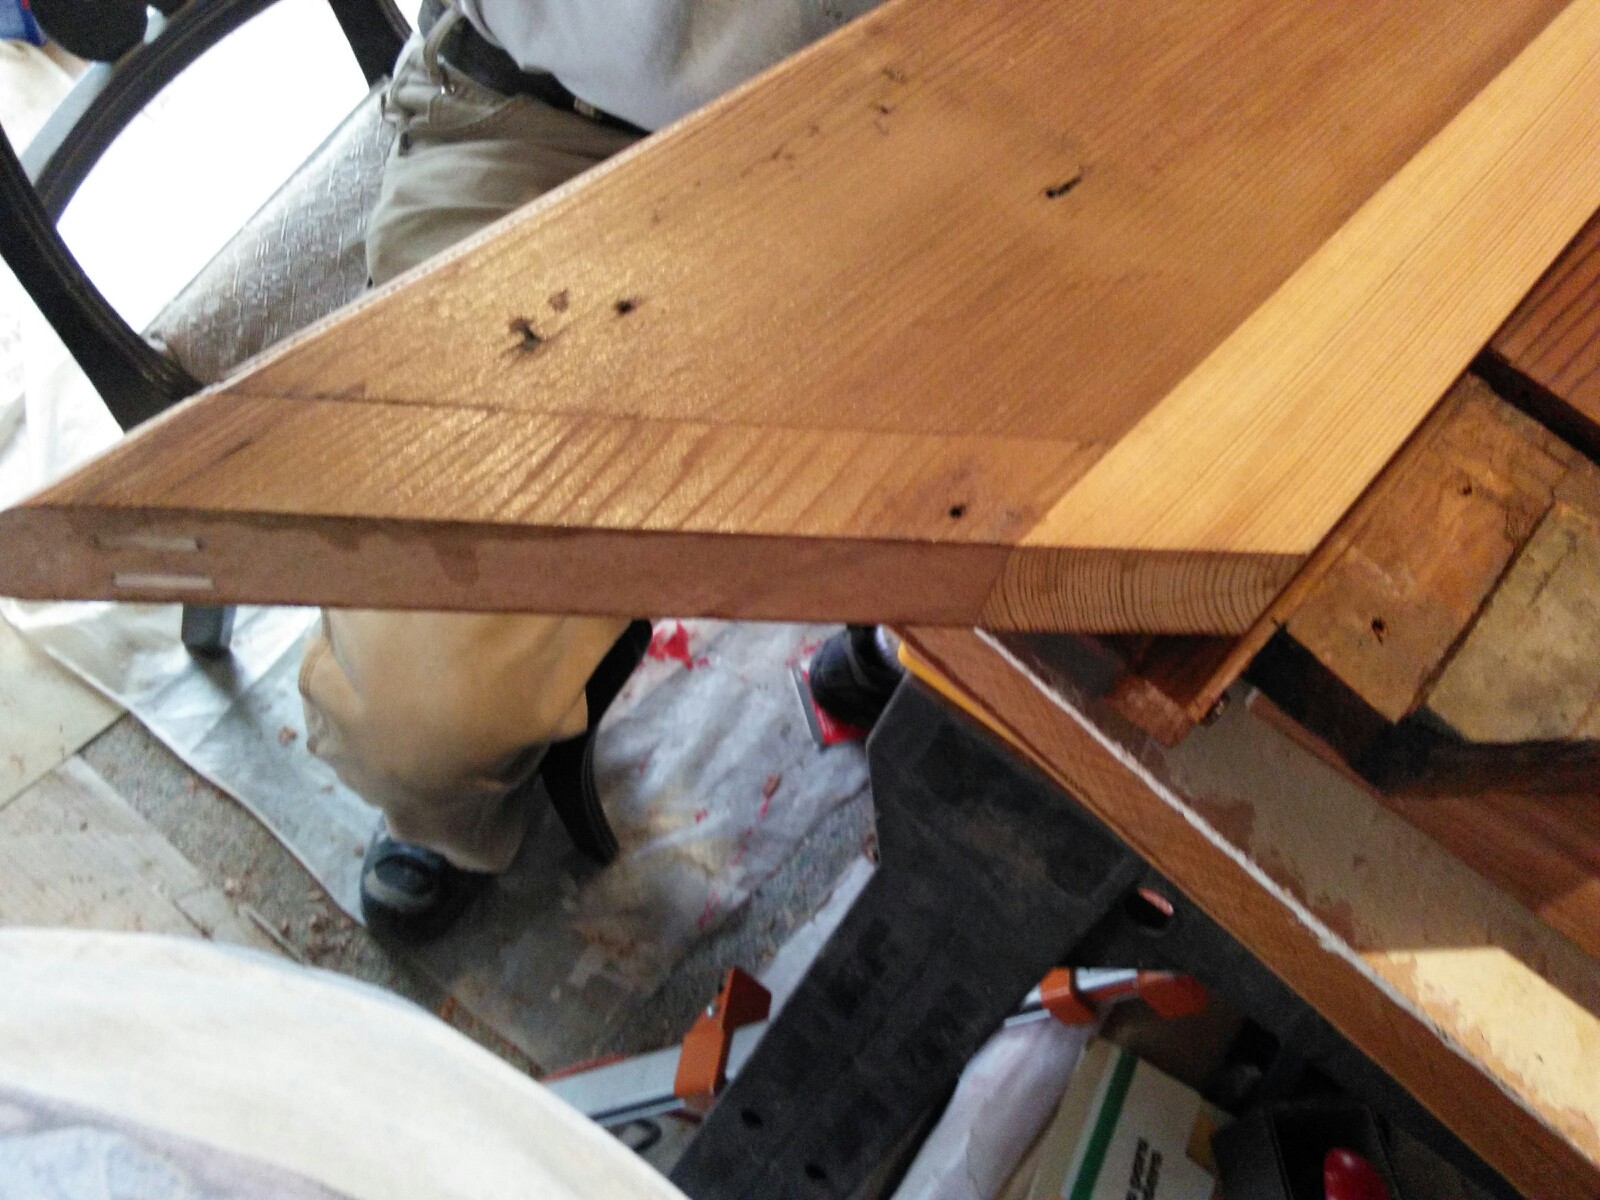
Detail of final piece – cut to correct dimension, shaped to match original profile
He did even more woodworking magic, adding some final touches so that the new parts blended as closely as possible with the old:
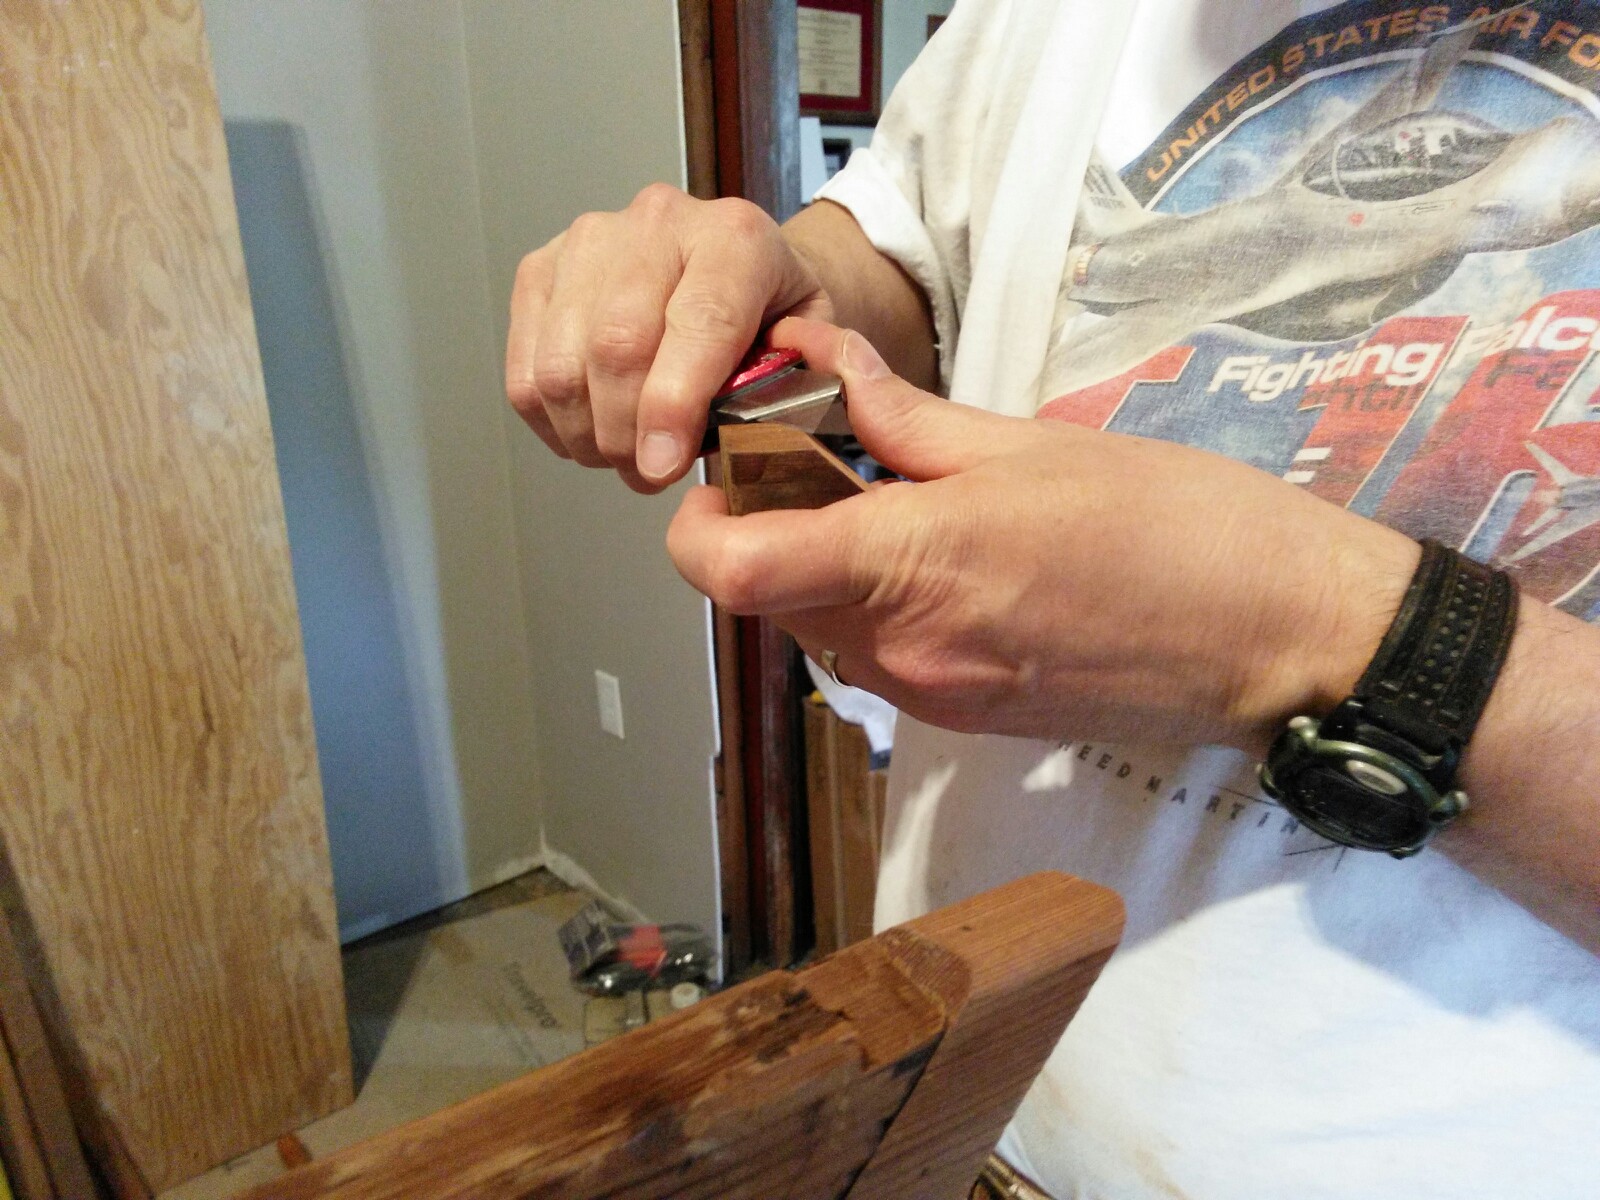
Whittling out a piece of wood to glue into a spot where the old mantle was damaged
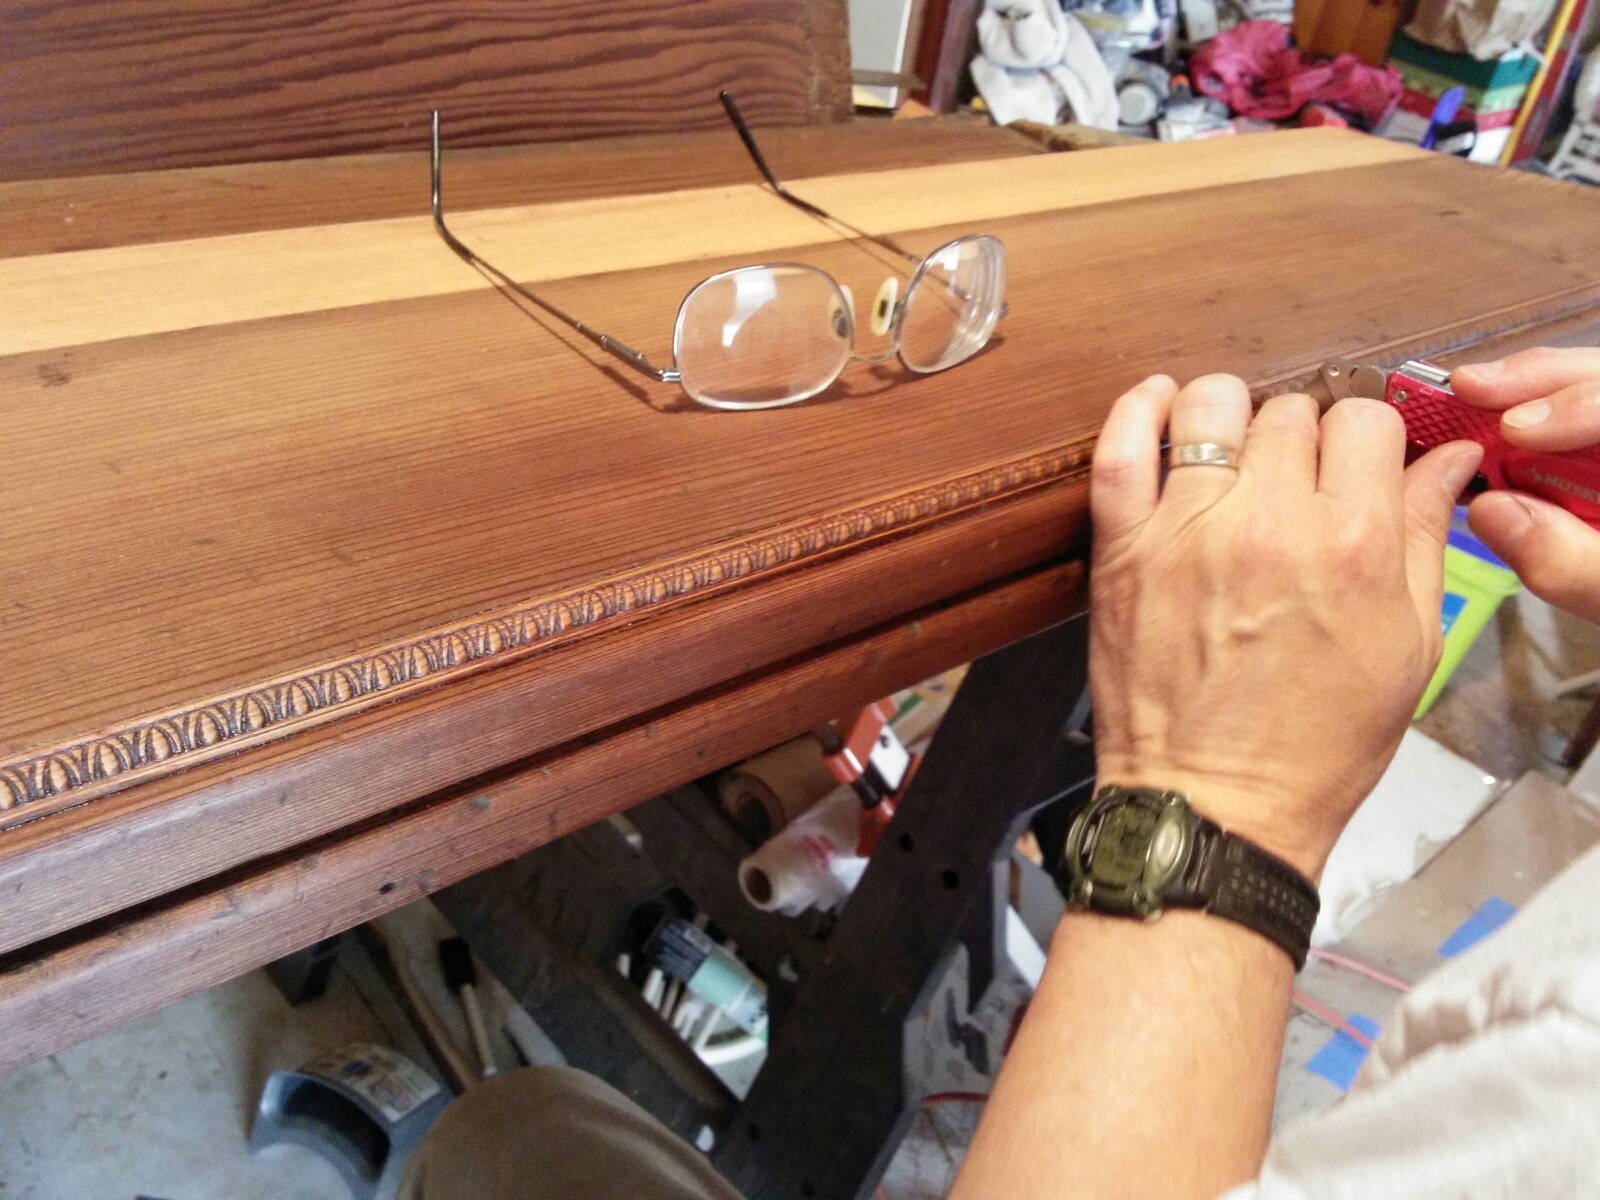
Scraping out tiny bits of old varnish in preparation for finishing
Once the upper shelf was finished, Paul puttied up all of the old nail holes and when the putty had dried, he sanded away any excess. Then it was time to put all of the pieces back together and put the finishing touches on the project:
The final assembly – all major pieces nailed in place, ready for final trim pieces and finishing
Trim pieces, cut to fit
We were able to reuse some of the old trim, but some of it had to be replaced with new trim. Fortunately, we had already purchased some replacement trim for the new upper mantle, so we were able to use it on this part of the project as well:
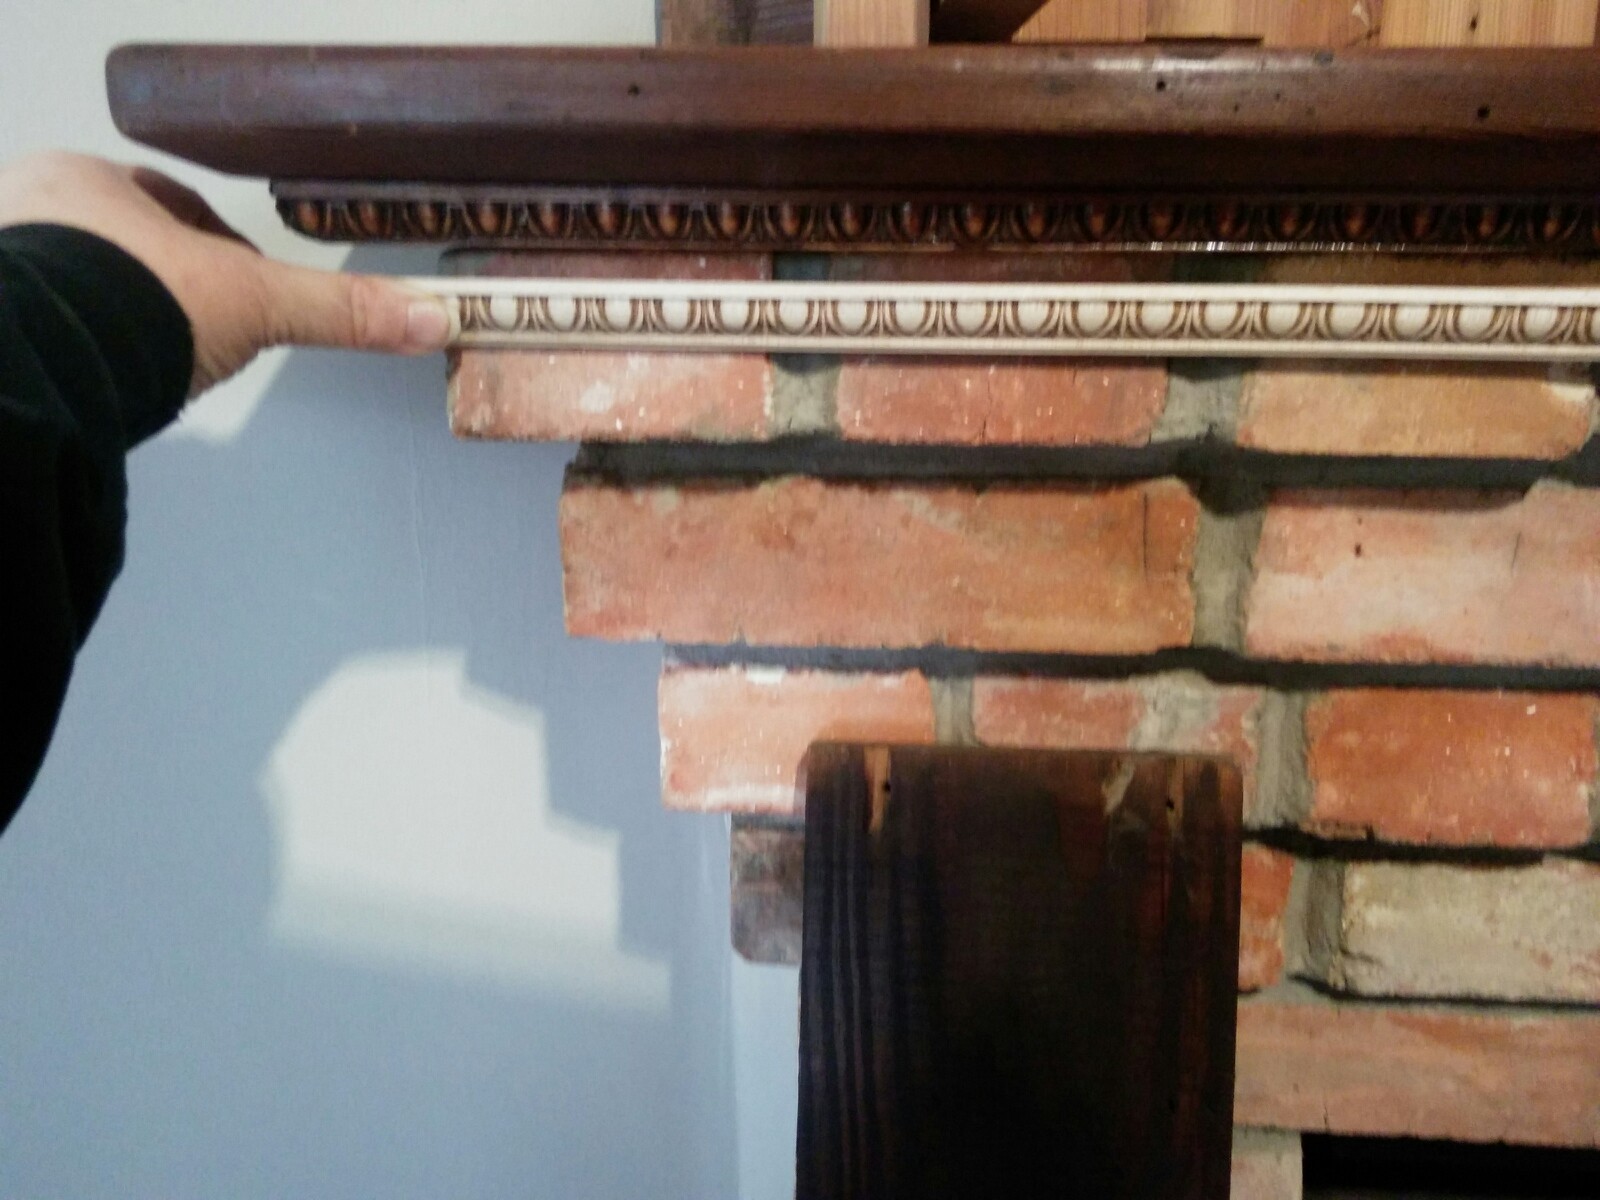
Not quite a perfect match, but 100+ years later, it’s close enough….
Paul readies trim pieces to be nailed in place
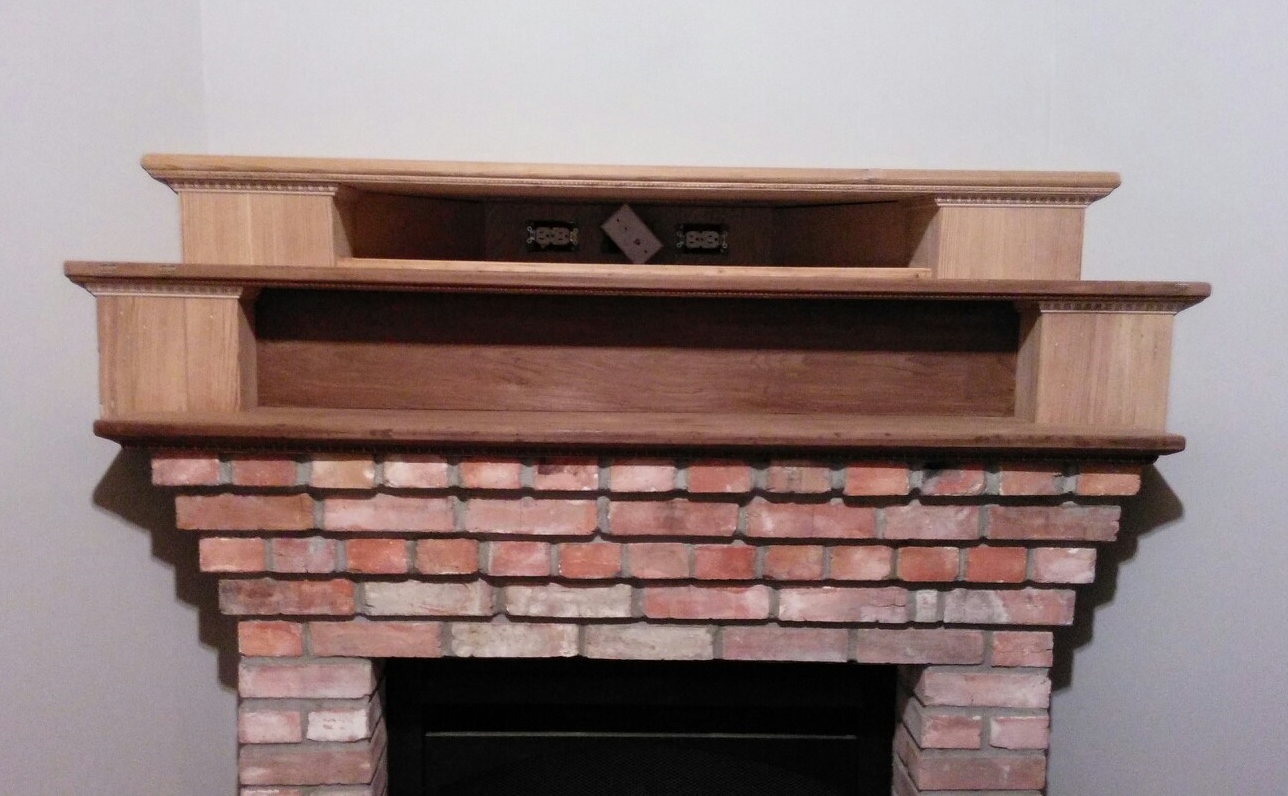
Upper and Lower Mantle assemblies, ready to be stained and finished
Now all we have to do is to putty over the last nail holes (as well as the ones where putty fell out when Paul was hammering in the new nails), clean the entire piece with a light “wash” of denatured alcohol, then stain and varnish both the upper and lower assemblies.
That’s going to take some time – we have to wait for each coat to dry before applying the next one, and Spring Break is coming up, so we may be busy doing other things for a couple of weeks. Never fear, though – I’ll be sure and put up another post when everything is finished. I can hardly wait!
.


If Paul needs to moonlight, he can come do the mantle here and I can babysit Rebecca while you go to a spa. Deal?? 😉
LikeLike